
Hungry Hollow Happenings: October 2023

This newsletter goes out monthly(ish). To subscribe to receive them in your inbox, click here:
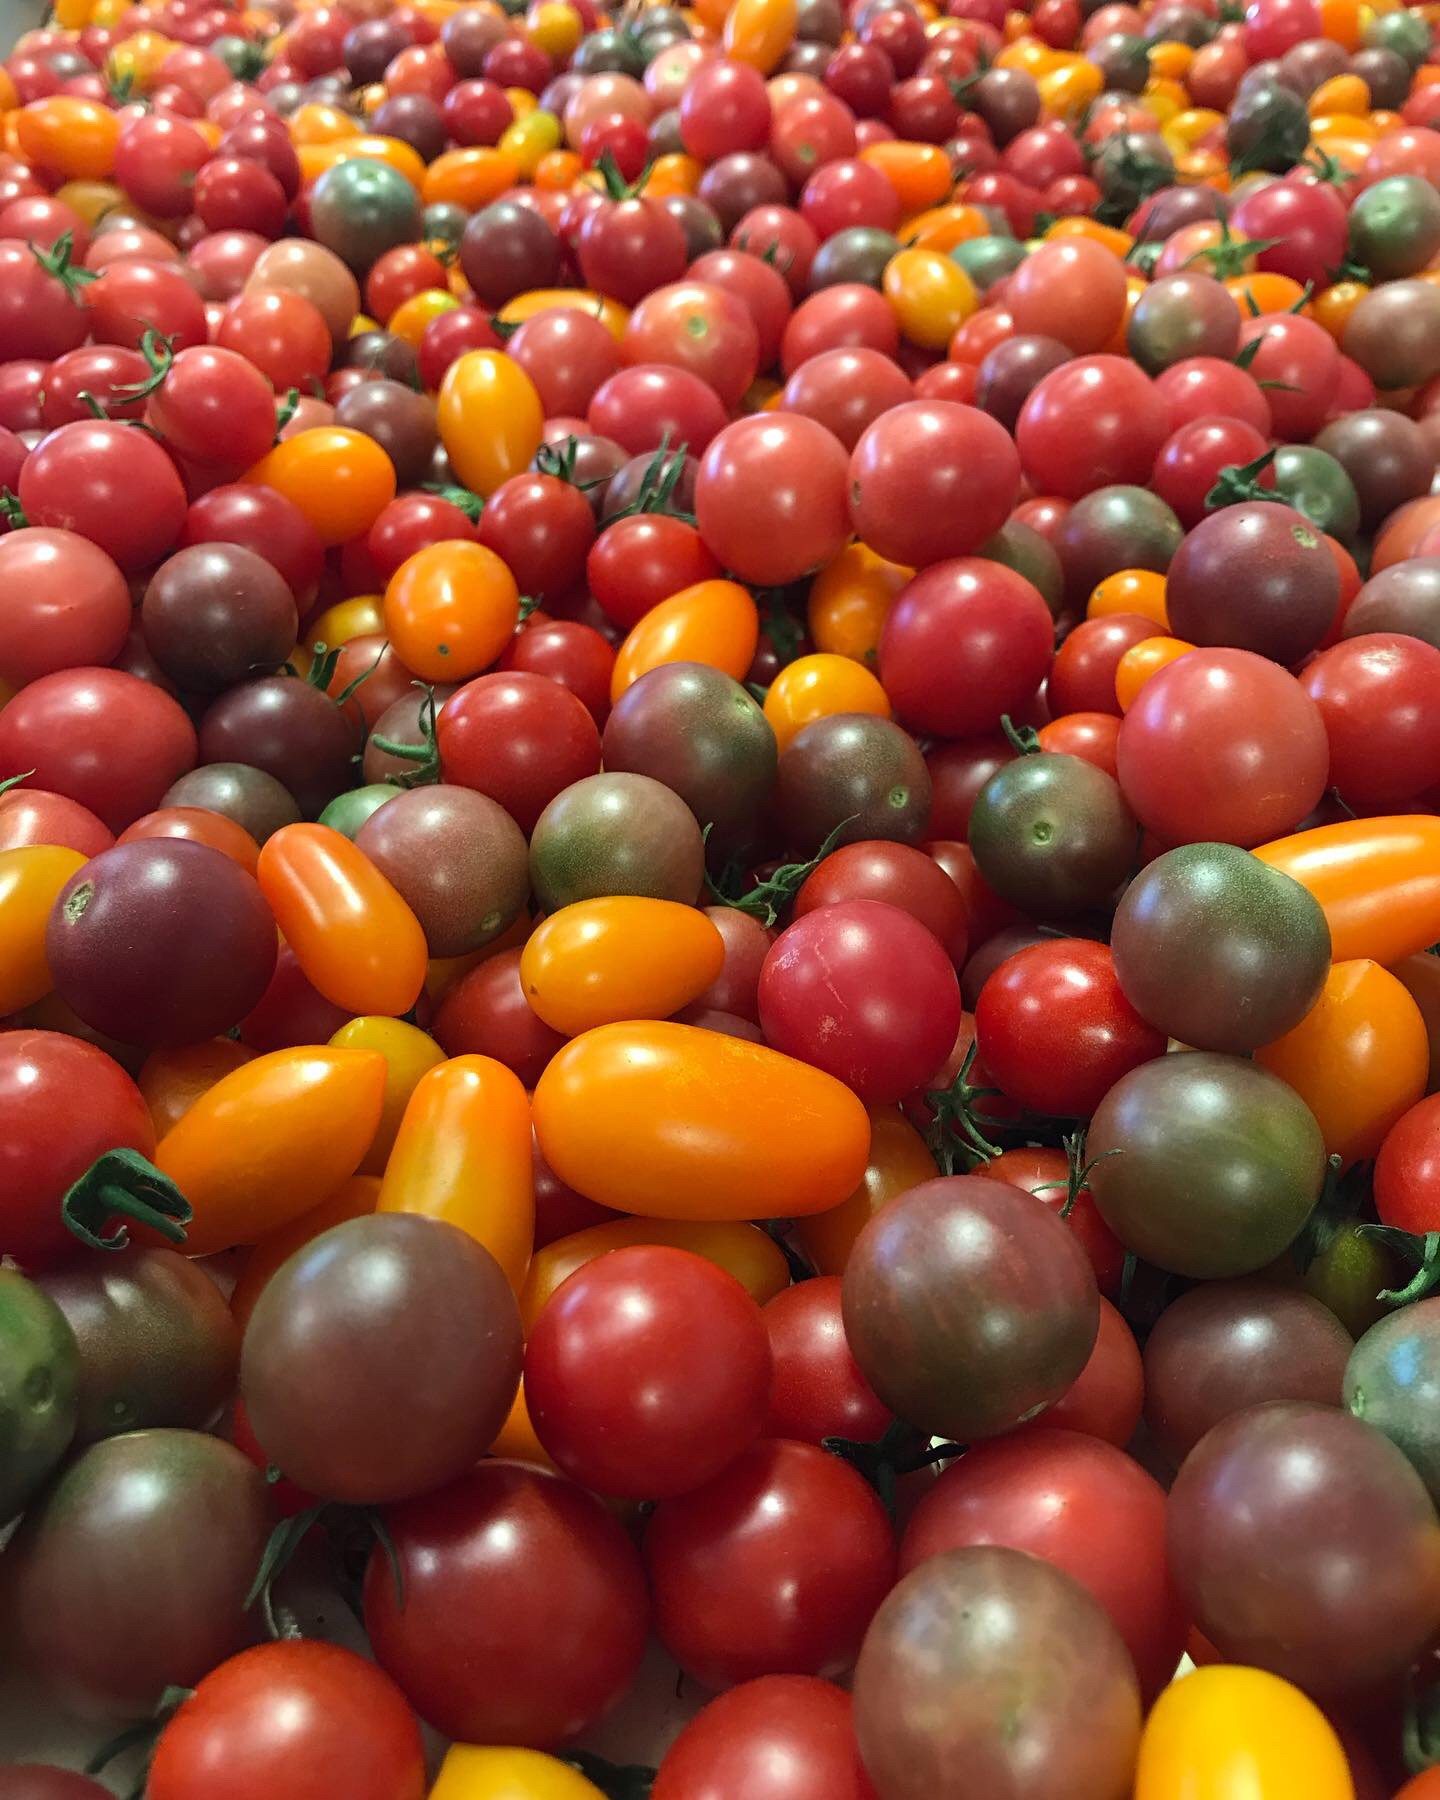
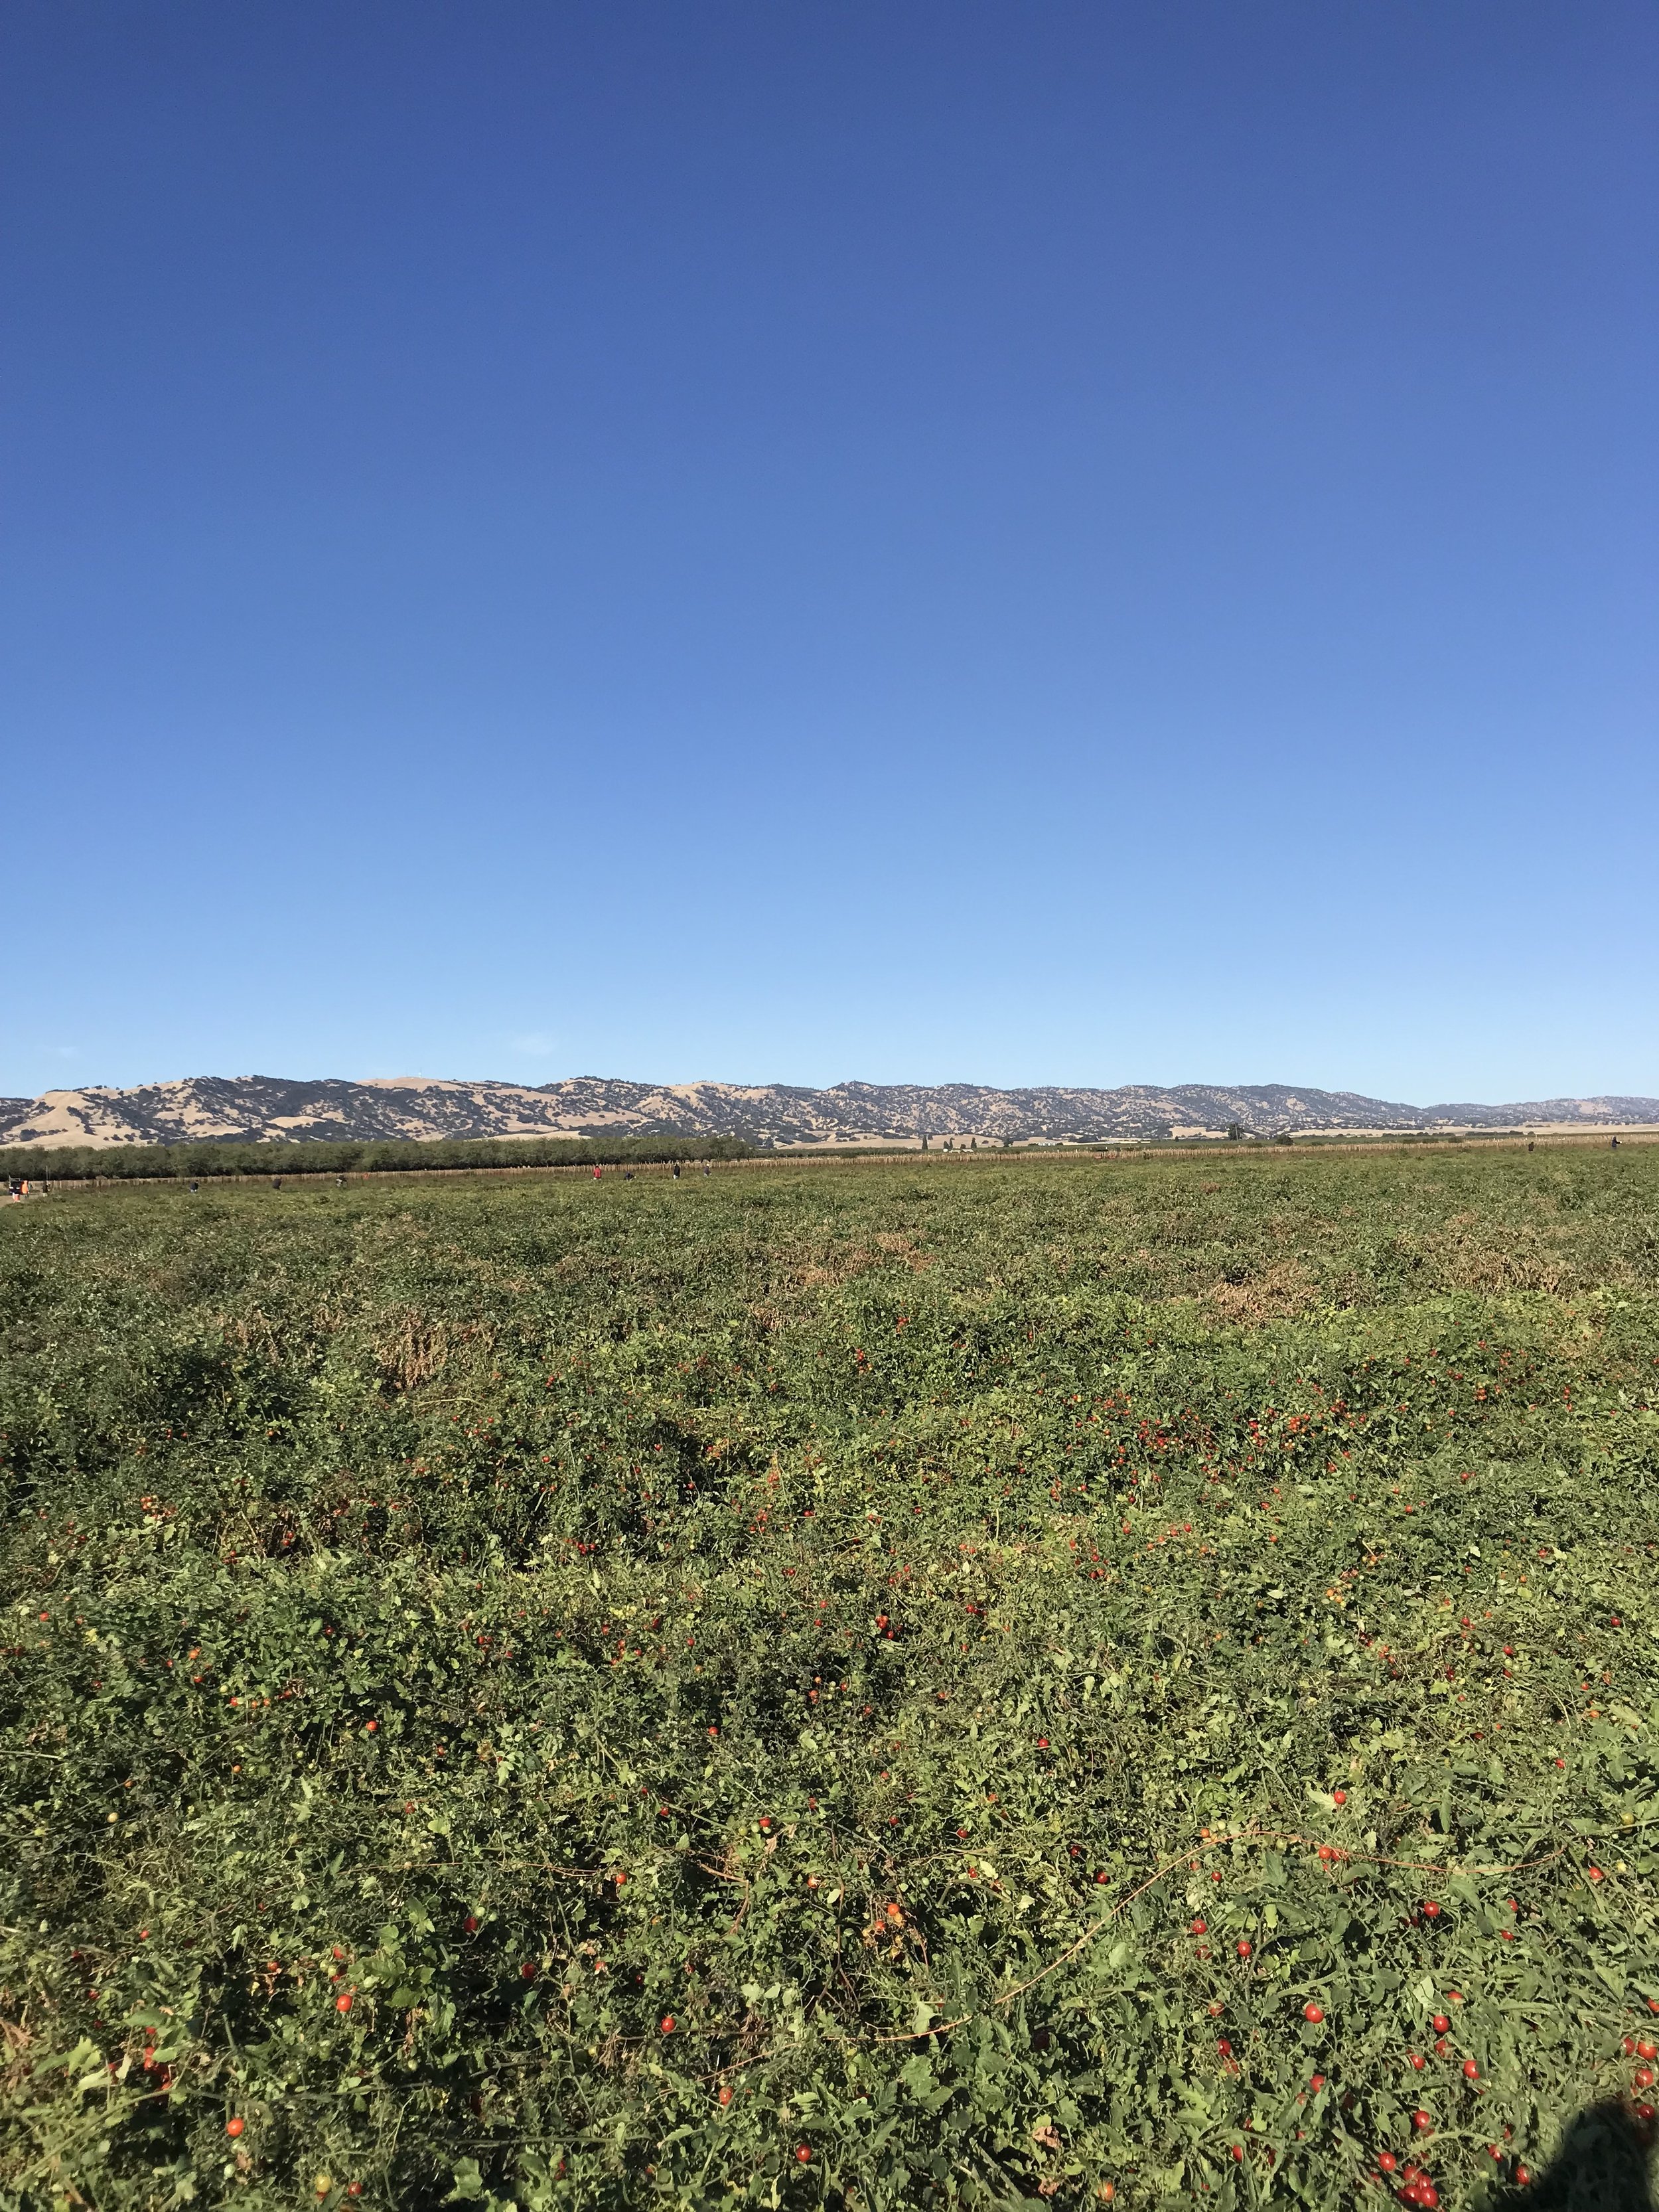
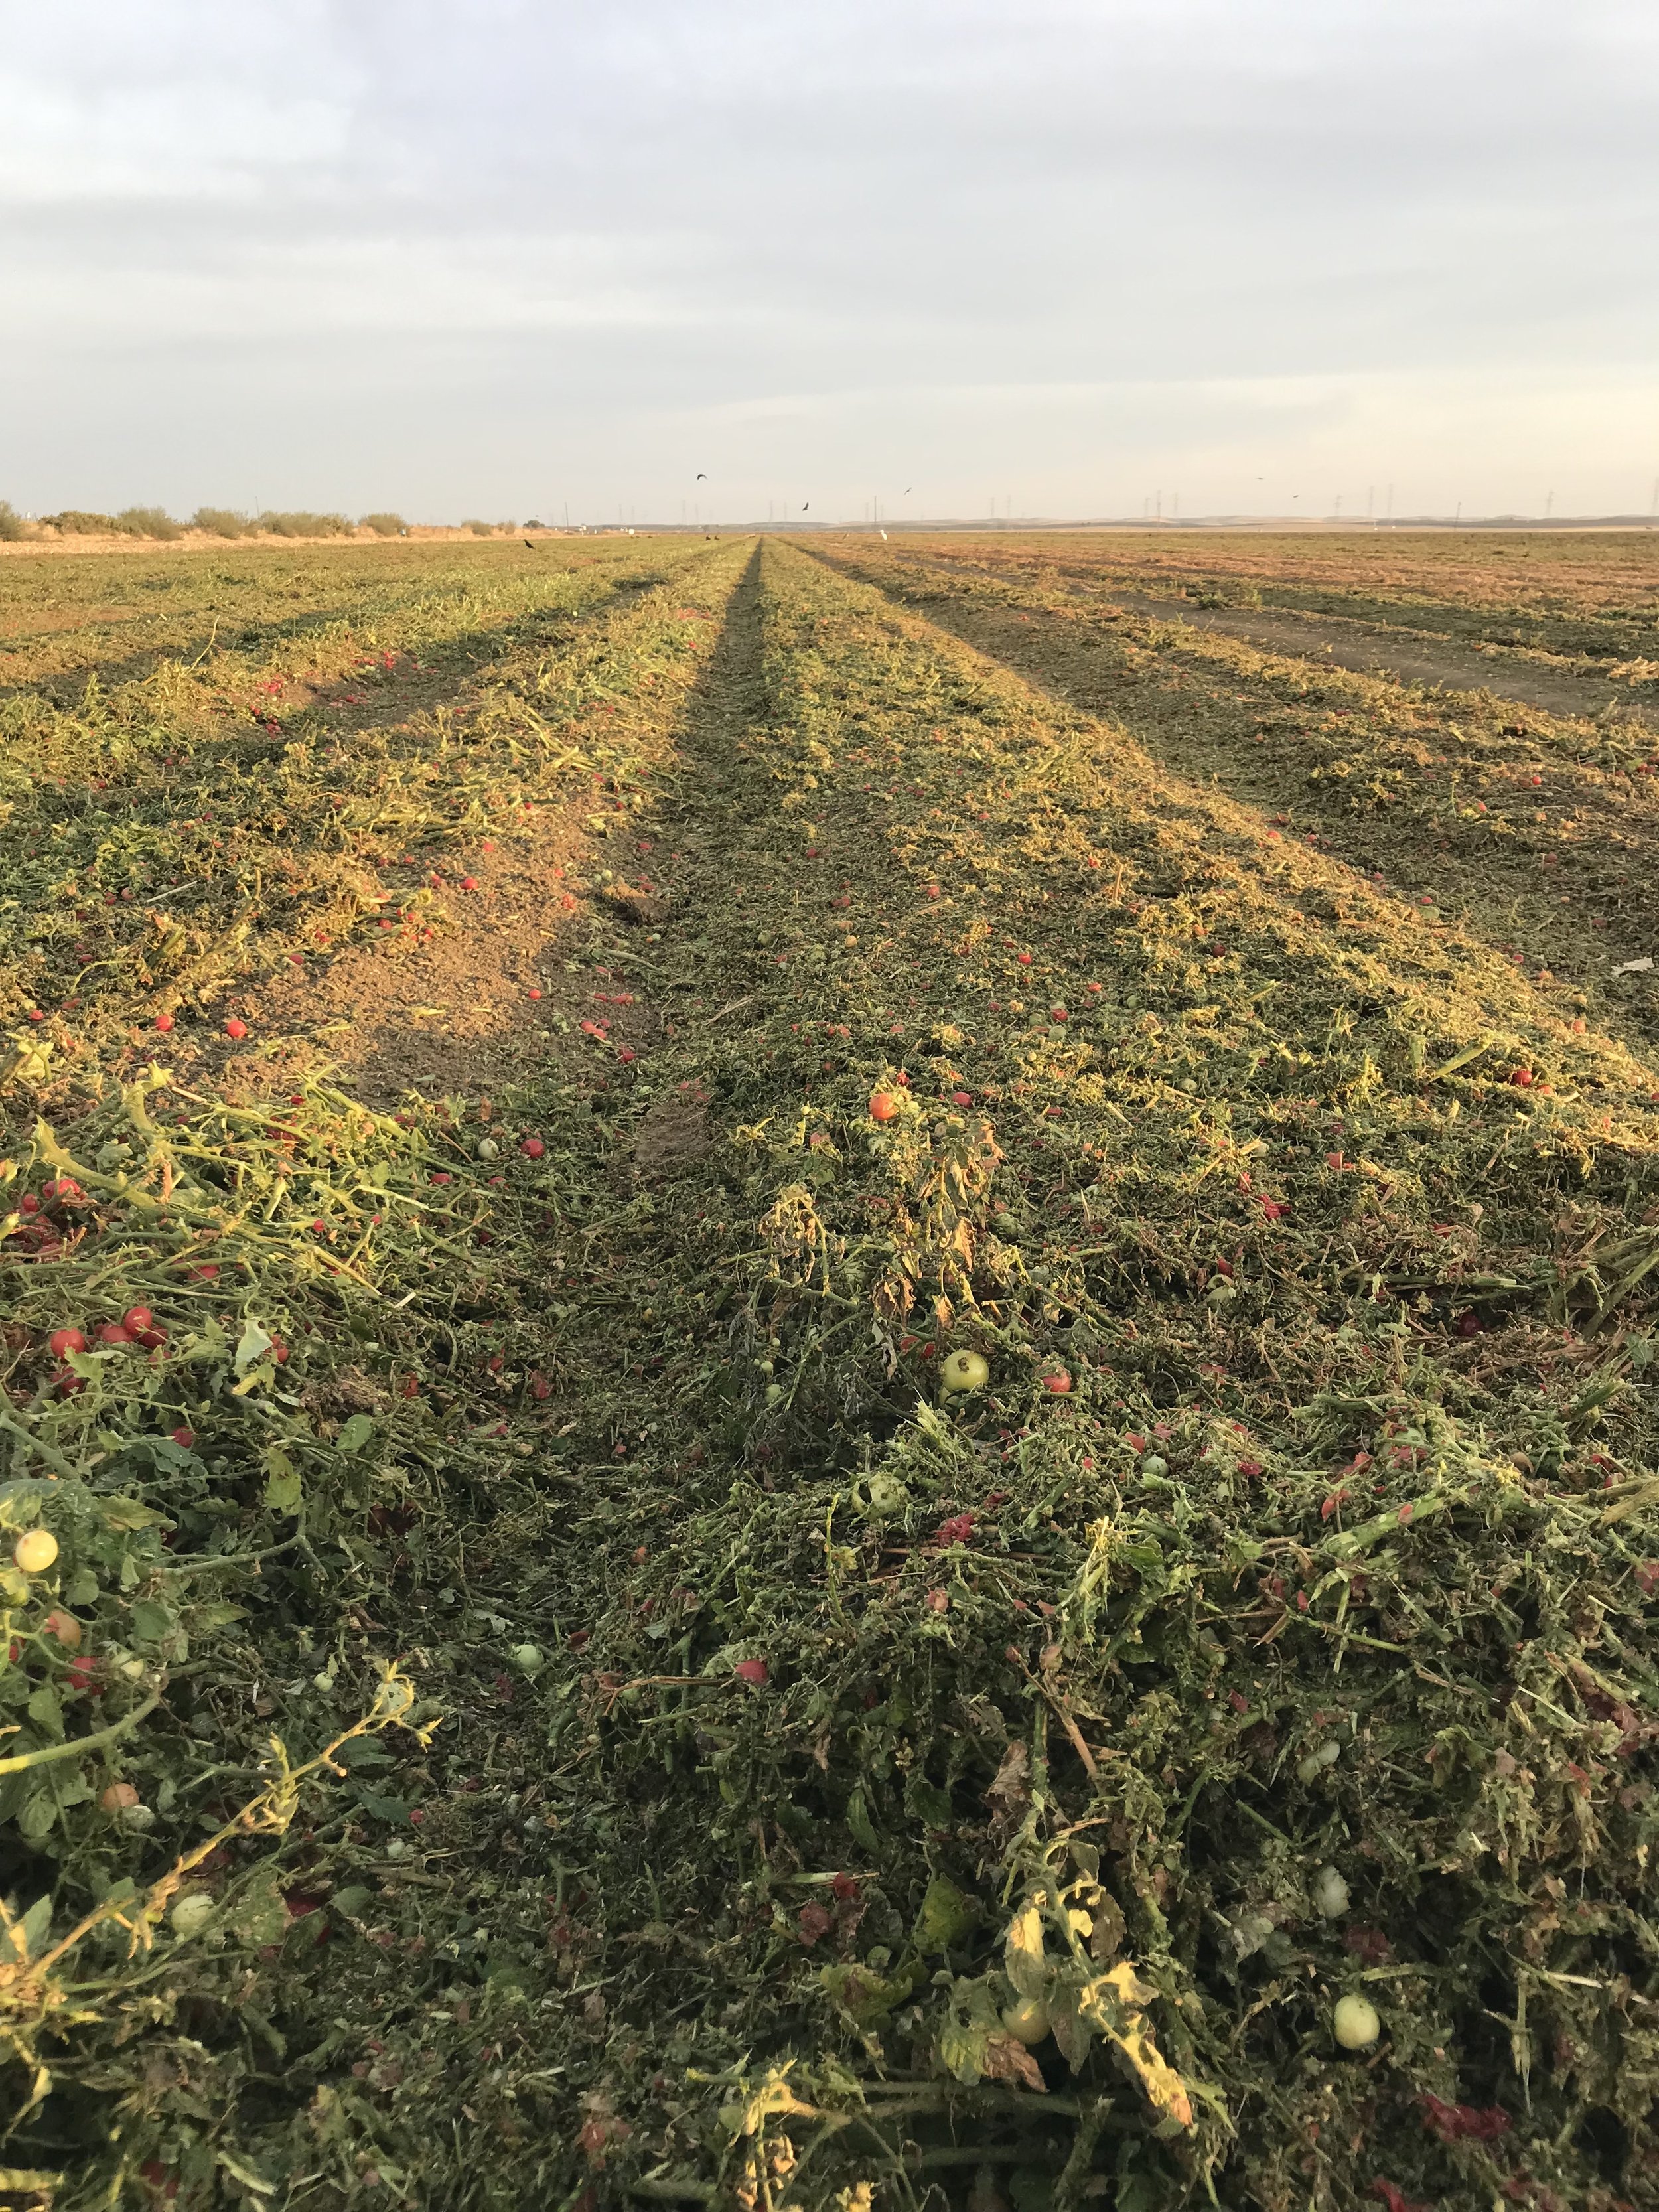
As October winds down, so too does our harvest season. Temperatures are finally cooling, and although we haven’t had our first frost, yet, we did get our first rain last week, which brought our tomato harvest to an end. The plants had been on the decline and the excess moisture and colder night time lows would lead to low quality fruit and difficult harvests. Instead, we breathe a collective sigh of relief for a lengthy season’s end as we begin to take down the last tomato plants and make more headway on our fall tasks.
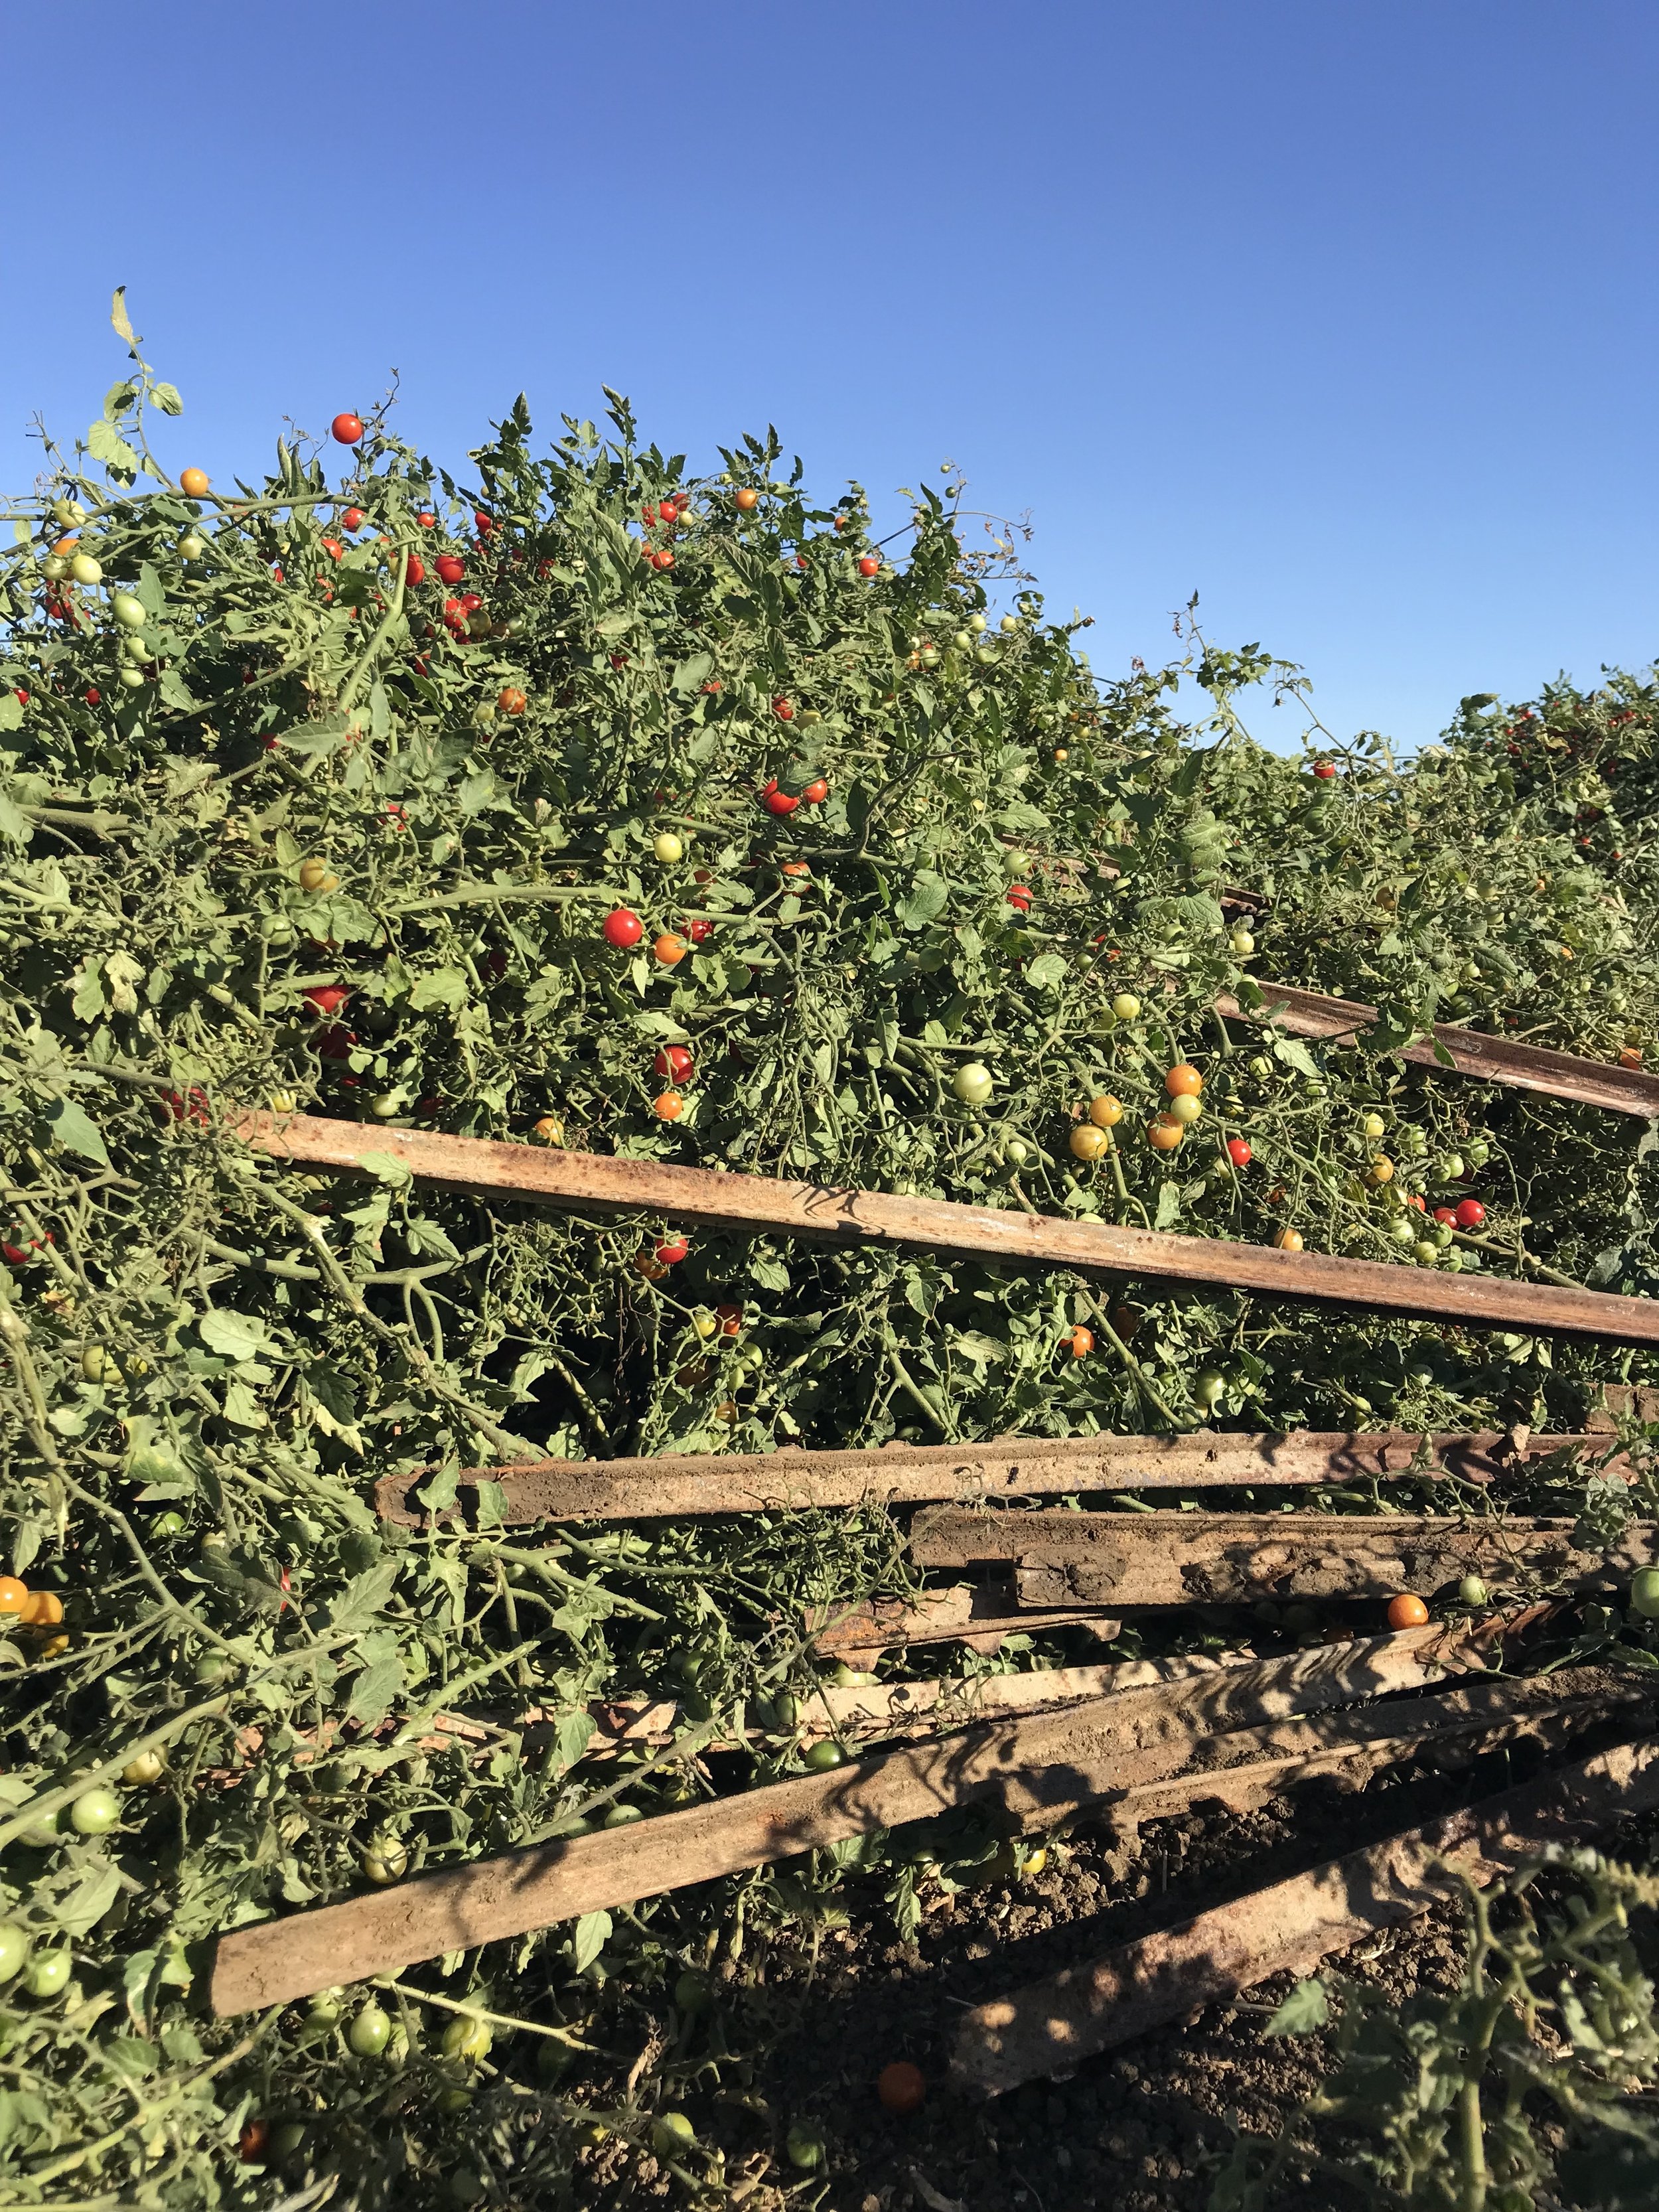
The process of taking down the tomato plants is not quite as tedious as getting them going, but is a cumbersome task no less.
The first step in the process is to remove any pallets, forgotten boxes, and stray water bottles from the field. Then we need to cut the twine that was holding up the tangle of viney plants.

We trellis all our tomatoes – a practice that supports healthier plant growth and ease of harvest – using t-posts and twine. You can learn more about the process of tying the tomatoes in this video: Growing Cherry Tomatoes (the staking process starts around minute 5). To remove the twine, we cut it first at the end post of a row and then again at every post as we walk down the row, pulling the twine out through the plants. The lengths of twine are bundled throughout the field and collected after it has all been removed.
Unfortunately, there is no recycling facility near us that can or will accept the twine. We try to mitigate our use of plastics and non-reusable/recyclable materials as much as we can, but this is an item for which we haven’t found a suitable alternative. We did find an organization in Colorado (Community Twine Recycling) working to recycle agricultural twine, but to do so, they truck it to a recycling center in Minnesota, which would be extremely costly for us. If anyone reading this has an inside scoop on (poly-ethylene) twine recycling services in California, please let us know!

Once all the twine has been removed from the field, we then need to pull out the stakes (t-posts). Before removing them, we run the irrigation to help loosen the soil. This makes most of the posts (relatively) easy to wiggle out of the ground. For the trickier ones, we have a post-puller that helps leverage them out of the soil. We place the stakes in piles throughout the field, then load them onto a trailer and bundle them with metal strapping for easy mobility and storage. They’re then transported to our equipment yard where they’re stacked and stored over the winter until we need them again next spring.
Now comes the exciting part – the mower! We use a flail mower to chop the plants into very small pieces so the 7 ft. long tangles of vines can be easily worked into the soil to feed all the decomposers.
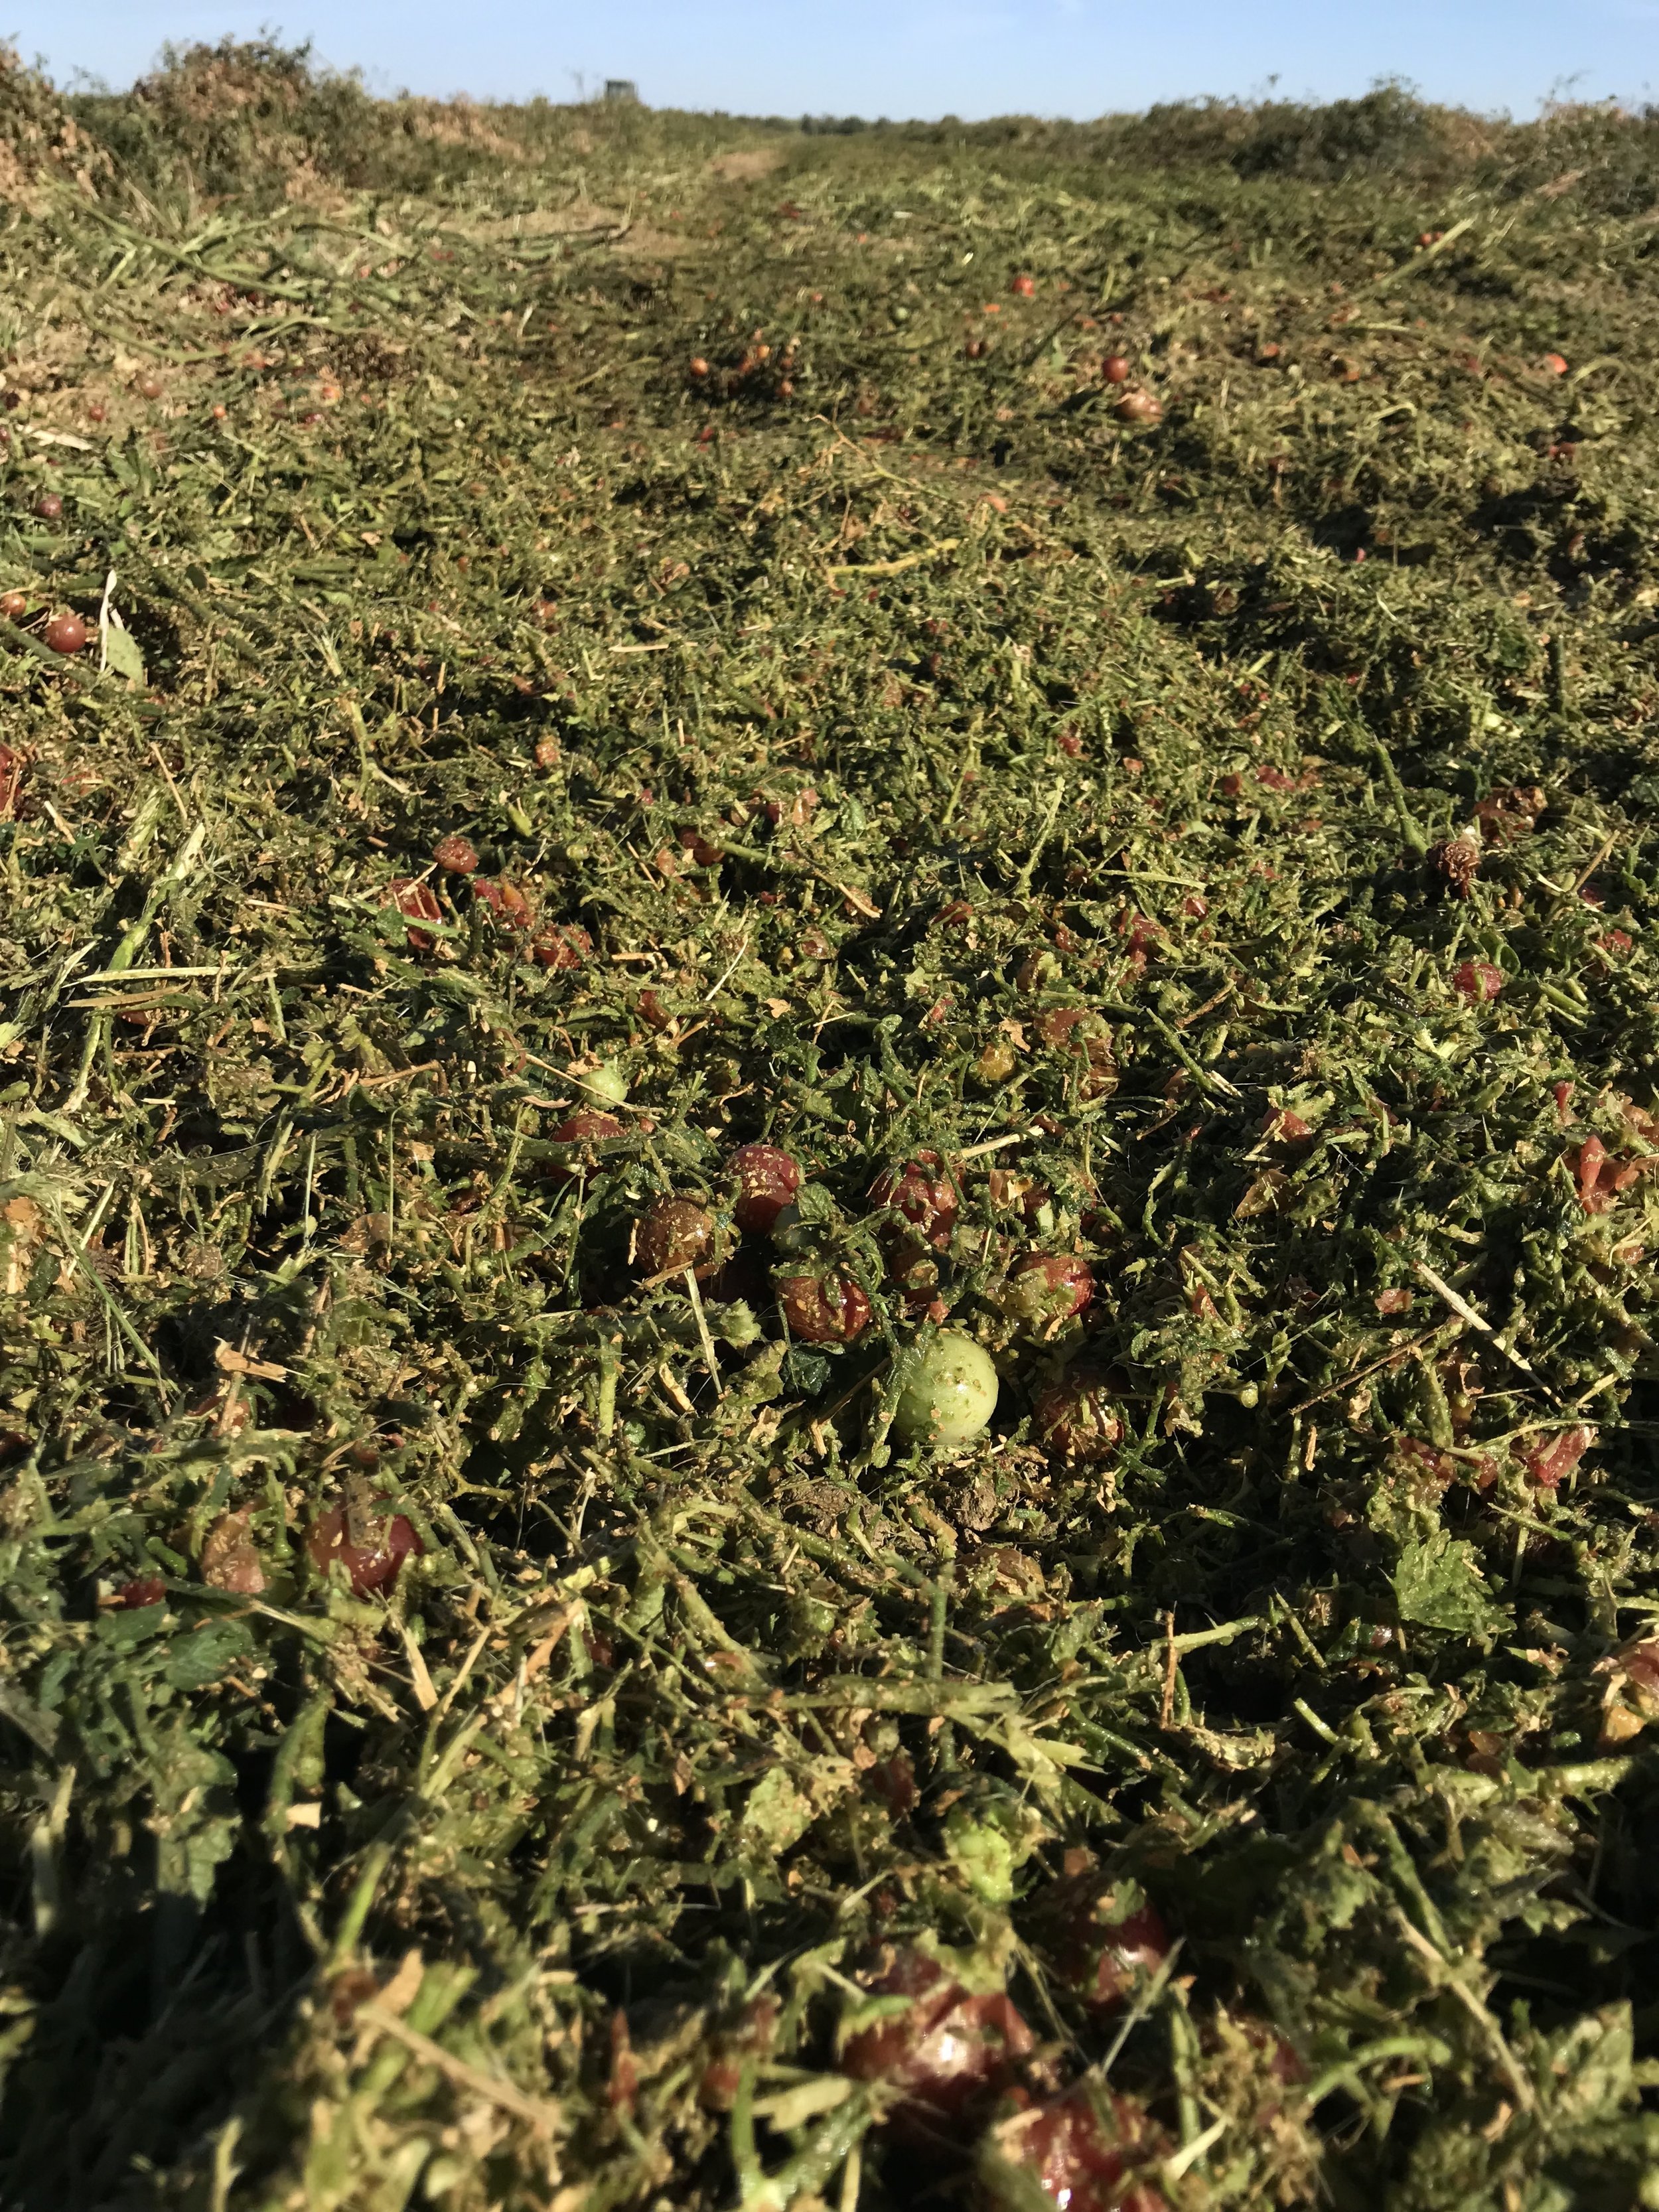
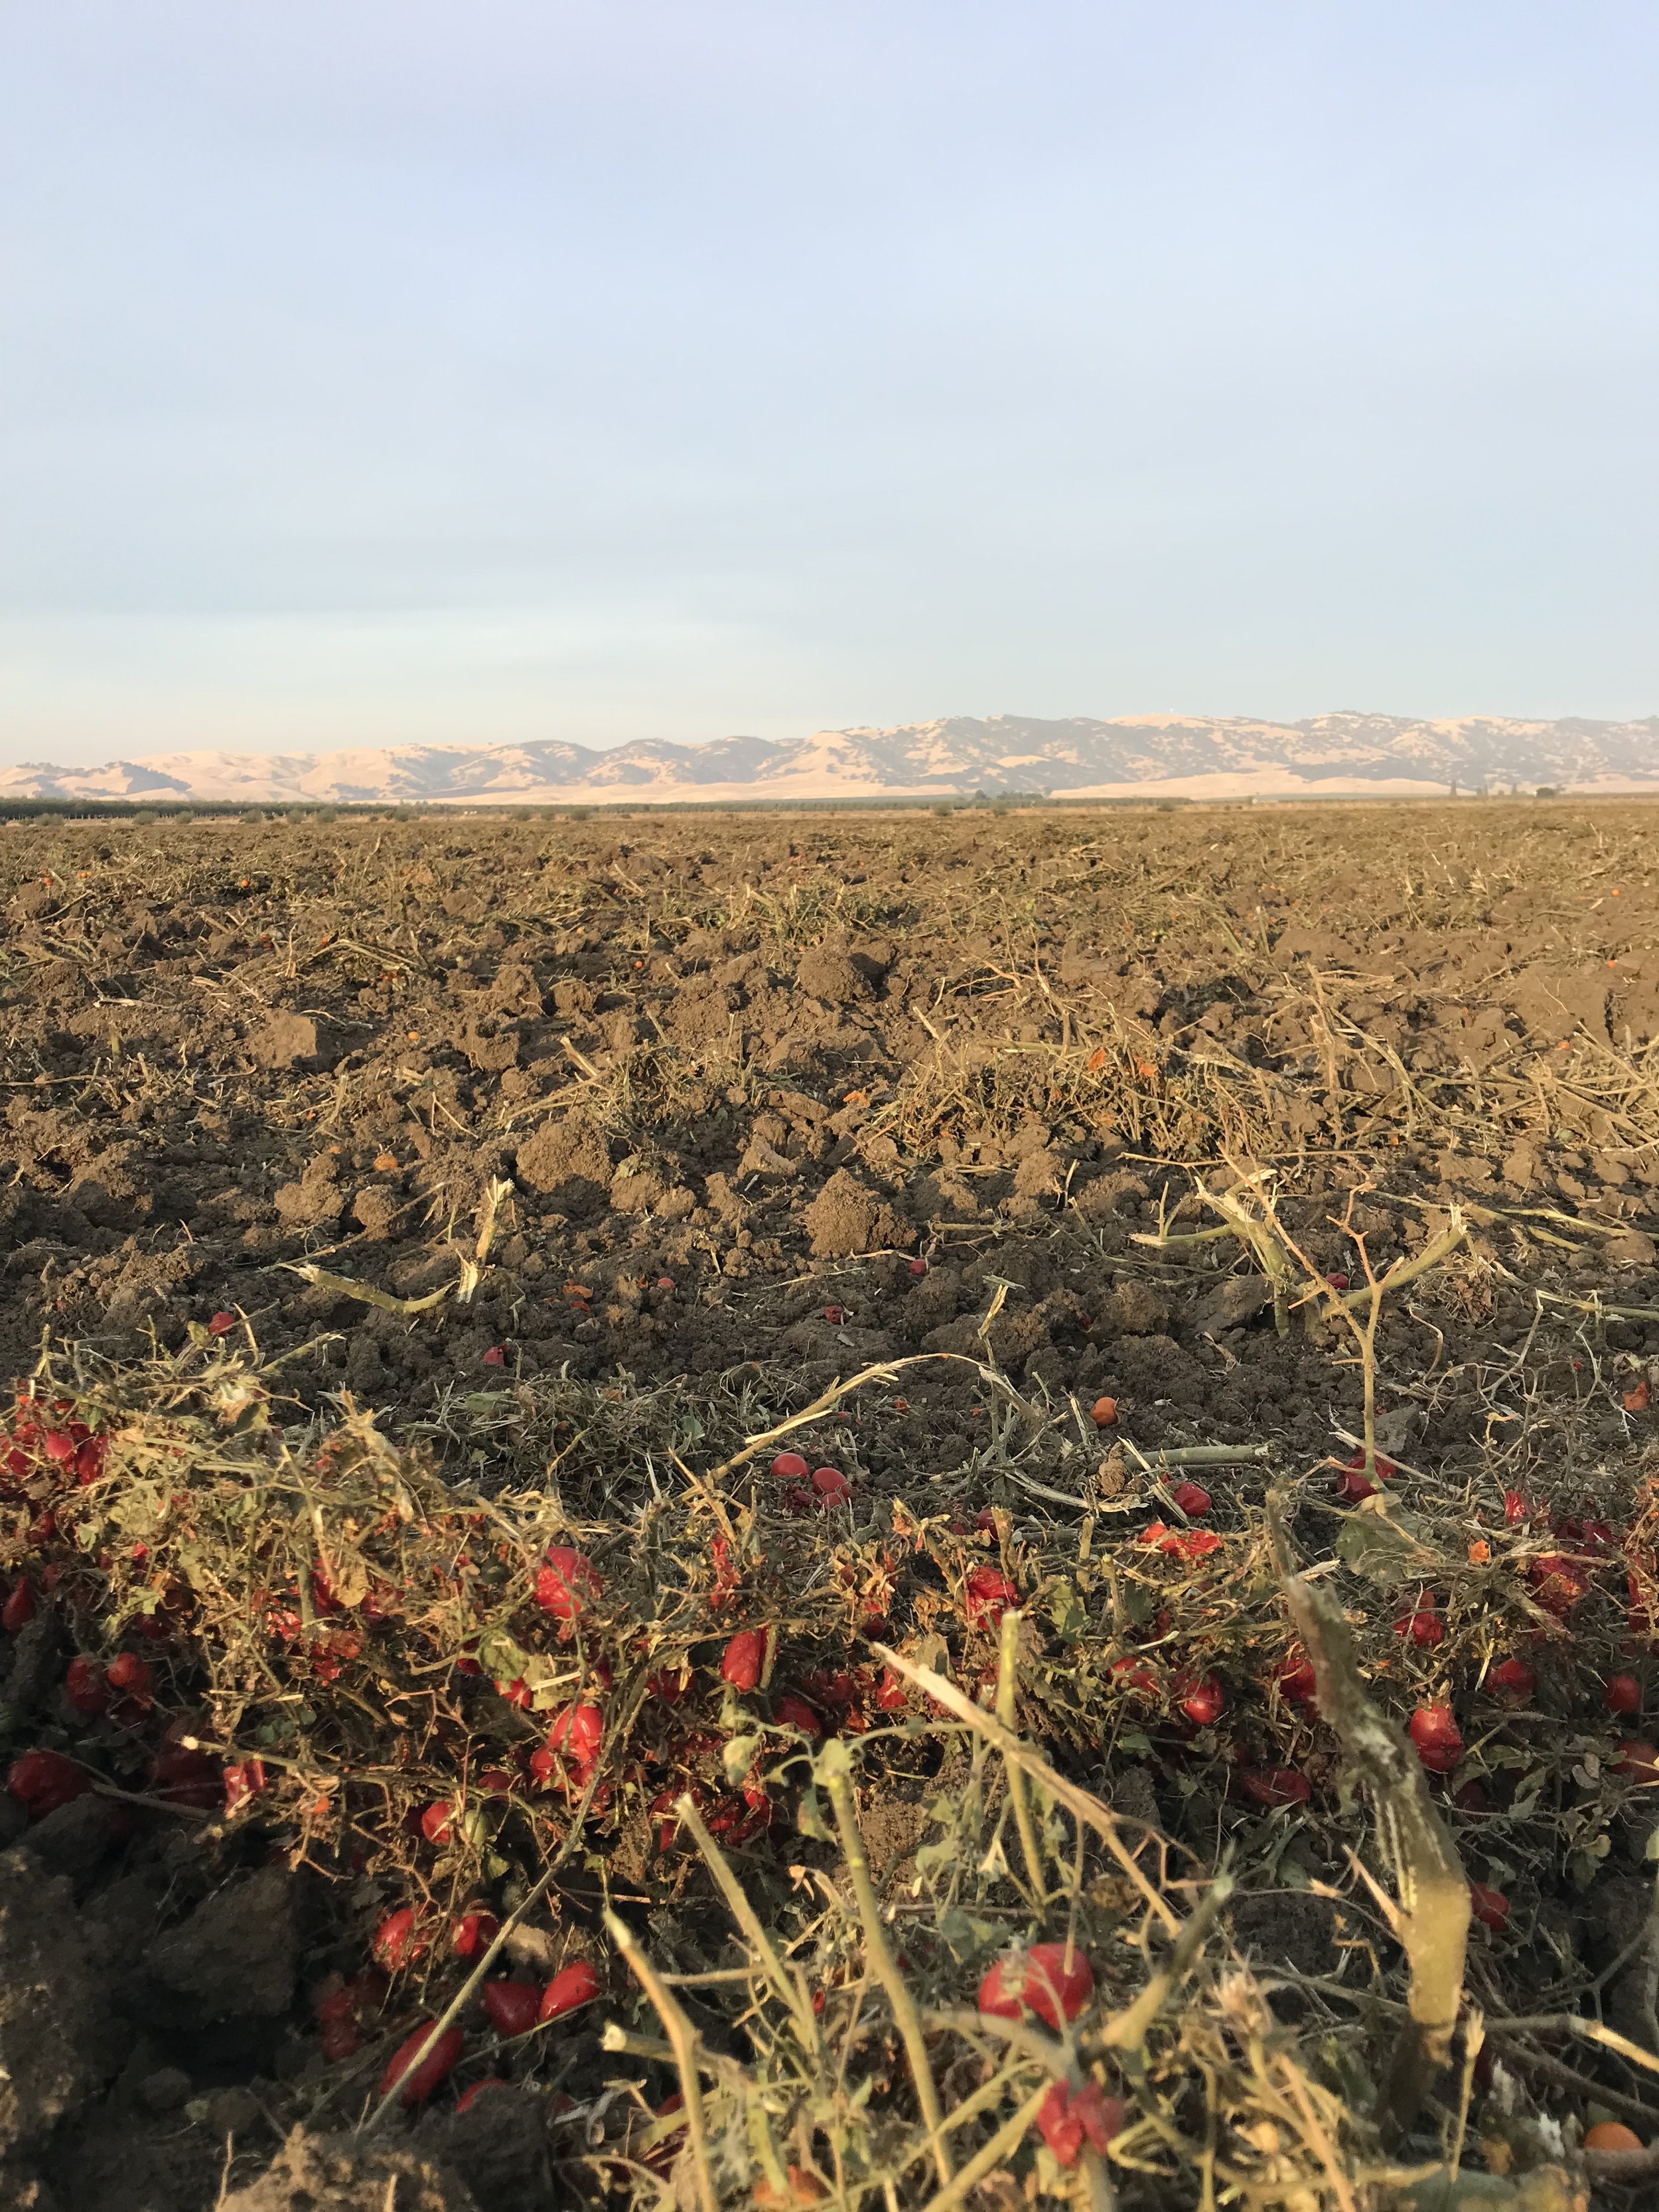
After the flail mower, we use a shallow chisel to break up any compaction caused from all the foot traffic during harvest time. The chisel is a tool we use sparingly, as we don’t want to disturb the web of life beneath the soil too much. However, we have found it helpful to follow our tomatoes with it as the daily walking through all the rows over a period of weeks or months during harvest does add up in terms of soil compaction!
Following the chisel, we lightly disc the plant matter into the soil, apply any amendments (typically a combination of gypsum and poultry manure) to make up for the nutrients used by the tomato plants, and prepare beds. Then, before planting our cover crop or grains, we typically run an overhead sprinkler irrigation set to bring up a flush of weeds so that we can cultivate them out ahead of our planting (we call this pre-irrigating and pre-cultivating). Depending on the field, we may pre-irrigate and pre-cultivate more than once before planting our crop.
Transitioning out our other big summer crops (watermelon, winter squash) is a much quicker task (mow, disc, done! …And then continue with amendments and pre-irrigating, etc.), and can be done in the blink of an eye thanks our talented tractor drivers. In fact, it seems like it was just that –a blink of an eye between the lush green fields of summer and the brown fall hues of compost and bare soil ready for the next crop.

Once all our land prep work is done we will start planting our cover crops and barley to overwinter as we plan for next year. Meanwhile, up at our packing house we’re still working on packing out the rest of our winter squash! We have a few different varieties this year, and we hope you get a chance to try them before they’re gone. You may even be able to find the last of our tomatoes that went out this week, if you’re lucky enough for one last meal of summer flavor.
Recipes We’re Loving:
Try this Butternut Squash Roasted with Chili Paste now, and I’m sure it’ll enter a regular rotation in your kitchen. It’s got a little heat and a nice crunch from the seeded chili paste mix to balance the sweetness from the squash.
This Creamy, Smoky, Winter Squash Pasta may also become a new hit in your kitchen this year. It’s fairly simple to put together (if you already have winter squash puree on hand - and even if you don’t), and delivers a lot of flavor and coziness. The smokiness comes from sweet smoked paprika, and if you like a little heat you could add in some hot paprika, too!
Now is THE time to dehydrate some cherry tomatoes! You’ll thank yourself later when you’re able to make delicious (Dried) Tomato Scones.
